Love this? Pin it for later! 📌
Why This Recipe Works
- Pantry Staples Only: Everything can be found at a discount grocery for under $10 and will keep for months.
- Hands-Off Simmer: After 15 minutes of prep, the stove does the heavy lifting while you binge your favorite show.
- Next-Day Magic: Flavors deepen overnight, turning already-great chili into restaurant-level comfort food.
- Freezer Hero: Make a double batch; leftovers freeze flat in zip bags for up to three months.
- Customizable Heat: Dial spice up or down with one simple adjustment so everyone at the table is happy.
- One-Pot Wonder: Fewer dishes equals more time for second helpings (and third).
- Plant-Powered Protein: Three kinds of beans provide nearly 18 g of protein per serving at a fraction of meat’s cost.
Ingredients You'll Need
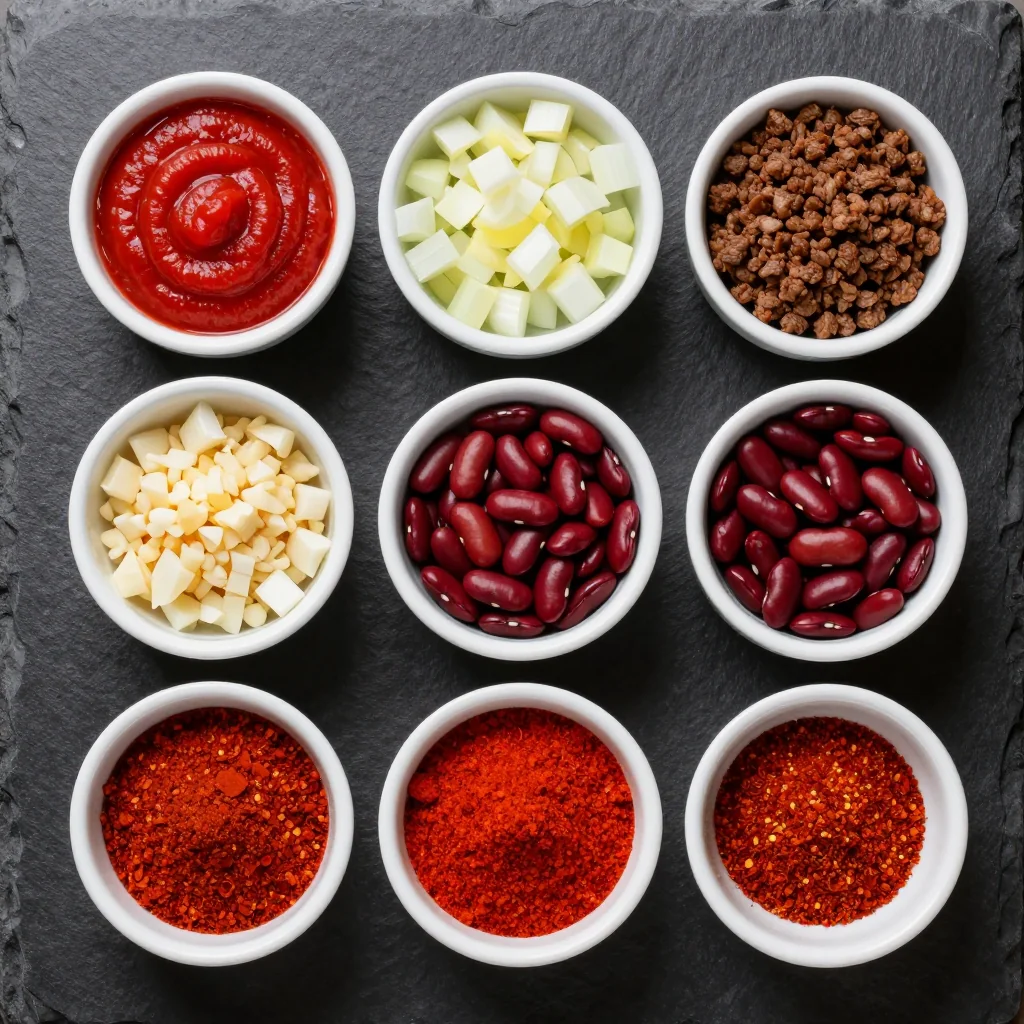
Great chili begins with humble, high-impact ingredients. Below is a quick field guide to each player and the smart-shopping tips I’ve learned over hundreds of batches:
Dry Beans (1 lb total mix of pinto, black, and kidney): Buying beans in bulk costs roughly $1.50 per pound versus $2.29 per can for precooked. The trick is an overnight soak; it slashes cook time and improves digestibility. Look for beans harvested within the past year (no visible cracks or dust in the bag).
Onion: A single large yellow onion supplies natural sweetness as it melts into the broth. If you only have half an onion left, toss it in—flexibility is the name of the game.
Green Bell Pepper: Often sold in 3-packs; use one now, freeze the others diced for omelets or future chili. A red bell works too but costs a bit more.
Garlic: Three cloves deliver the backbone aroma. In a pinch, ½ teaspoon of garlic powder per clove keeps the flavor alive.
Canned Tomatoes (28 oz): Whole peeled tomatoes are cheapest; crush them by hand for rustic texture. Fire-roasted varieties add smoky depth if they’re on sale.
Tomato Paste (2 Tbsp): Buy the tube variety; it lasts months in the fridge and prevents waste from partially used cans.
Vegetable Broth: Make your own from scraps stored in the freezer—onion skins, carrot tops, mushroom stems simmered for 30 minutes—then strain. Otherwise, low-sodium store brands keep salt levels in check.
Chili Powder (2 Tbsp): Check the bulk spice section; you can scoop just what you need for pennies versus paying for a new jar.
Cumin & Smoked Paprika: These two buddies give earthy warmth and subtle campfire perfume. If you don’t have smoked paprika, regular plus a pinch of liquid smoke works.
Cocoa Powder (1 tsp): Sounds odd, but it’s my secret for complexity. Unsweetened cocoa deepens flavor the same way chocolate lifts Mexican mole.
Bay Leaf & Oregano: Both are inexpensive pantry stalwarts. Mexican oregano lends citrusy notes, but common oregano is perfectly acceptable.
Optional Toppings: Keep them cheap—chopped green onions, a spoonful of yogurt, or a handful of crushed tortilla chips elevate without extra grocery spending.
How to Make Budget Friendly Chili That Tastes Better the Next Day
Soak the Beans
Rinse beans under cool water, discarding any stones or shriveled pieces. Transfer to a large bowl, cover with 2 inches of water, and stir in 1 tsp salt (this seasons from the inside out). Let stand at room temperature 8 hours or overnight. If you’re in a hurry, use the quick-soak method: boil beans for 2 minutes, remove from heat, cover, and soak 1 hour before draining.
Sauté Aromatics
Heat 2 Tbsp oil in a heavy Dutch oven over medium heat. Add diced onion and bell pepper; cook 5 minutes until edges turn translucent and slightly golden. Stir in minced garlic for 30 seconds—just until fragrant—to avoid the raw bite that can overpower the chili.
Bloom the Spices
Clear a small circle in the center of the pot, reduce heat to low, and add chili powder, cumin, smoked paprika, cocoa powder, oregano, and a generous pinch of pepper. Stir constantly for 60 seconds. Toasting spices in fat unlocks their essential oils, amplifying aroma and flavor without extra cost.
Build the Base
Scrape in tomato paste; cook 2 minutes to caramelize sugars and remove any tinny taste from the can. Pour in one cup of broth, stirring to deglaze the browned bits—those flecks equal flavor gold.
Add Beans & Tomato
Drain soaked beans and tip them into the pot along with the canned tomatoes (crush them between your fingers as you add). Nestle in the bay leaf. Top with remaining broth until beans are submerged by 1 inch. Bring to a gentle simmer, partially cover, and reduce heat to low.
Low & Slow Simmer
Cook 1½–2 hours, stirring every 20 minutes and adding broth or water as needed to keep beans covered. The long, slow bubble coaxes starch from the bean skins, naturally thickening the broth without cornstarch or flour.
Season Gradually
At the 1-hour mark, beans will be al dente—perfect time to add salt. Salting too early can toughen skins. Start with 1 tsp, taste after 15 minutes, and adjust. Remember you can always add more but you can’t take it out.
Finish & Serve
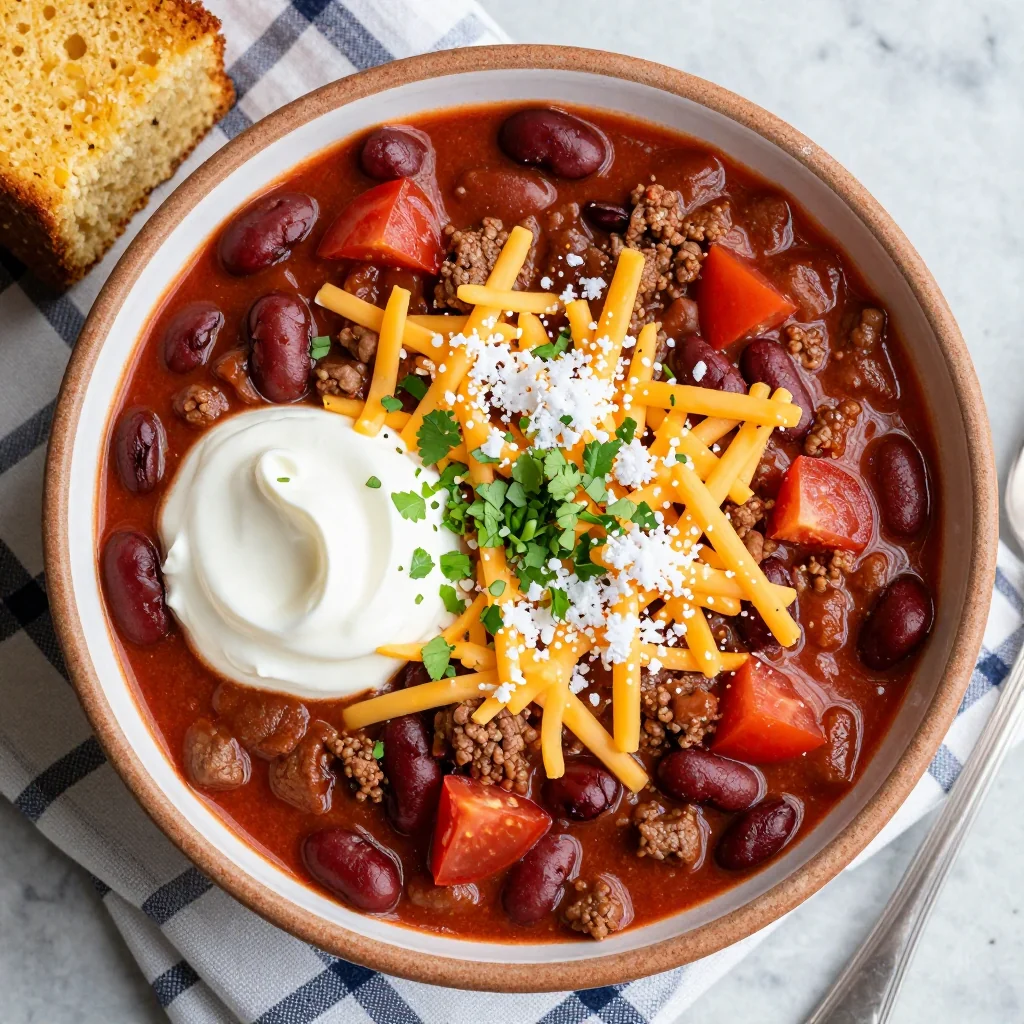
When beans are creamy and broth coats the back of a spoon, remove bay leaf, add a splash of vinegar or lime juice to brighten, and ladle into bowls. Garnish as desired; cornbread on the side is optional but highly recommended.
Expert Tips
Deglaze with Beer
Swap ½ cup of broth for a cheap lager. Alcohol cooks off, leaving malty depth that mimics slow-simmered beef chili.
Smoky Shortcut
No smoked paprika? Add ½ tsp chipotle peppers in adobo sauce. Blend one pepper with tomatoes for controlled heat.
Creamy Finish
For silkier texture, mash ½ cup of cooked beans against the side of the pot and stir back in—no dairy, all natural.
Control Salt
Taste the next day and still feel it needs punch? Add a pinch of sugar instead of more salt to balance acidity.
Double Duty
Stretch leftovers into chili-mac: stir in cooked elbow pasta and a handful of shredded cheese for a new meal.
Quick Thaw
Freeze chili flat in quart bags. Submerge sealed bag in warm water for 10 minutes; dinner is ready faster than take-out.
Variations to Try
-
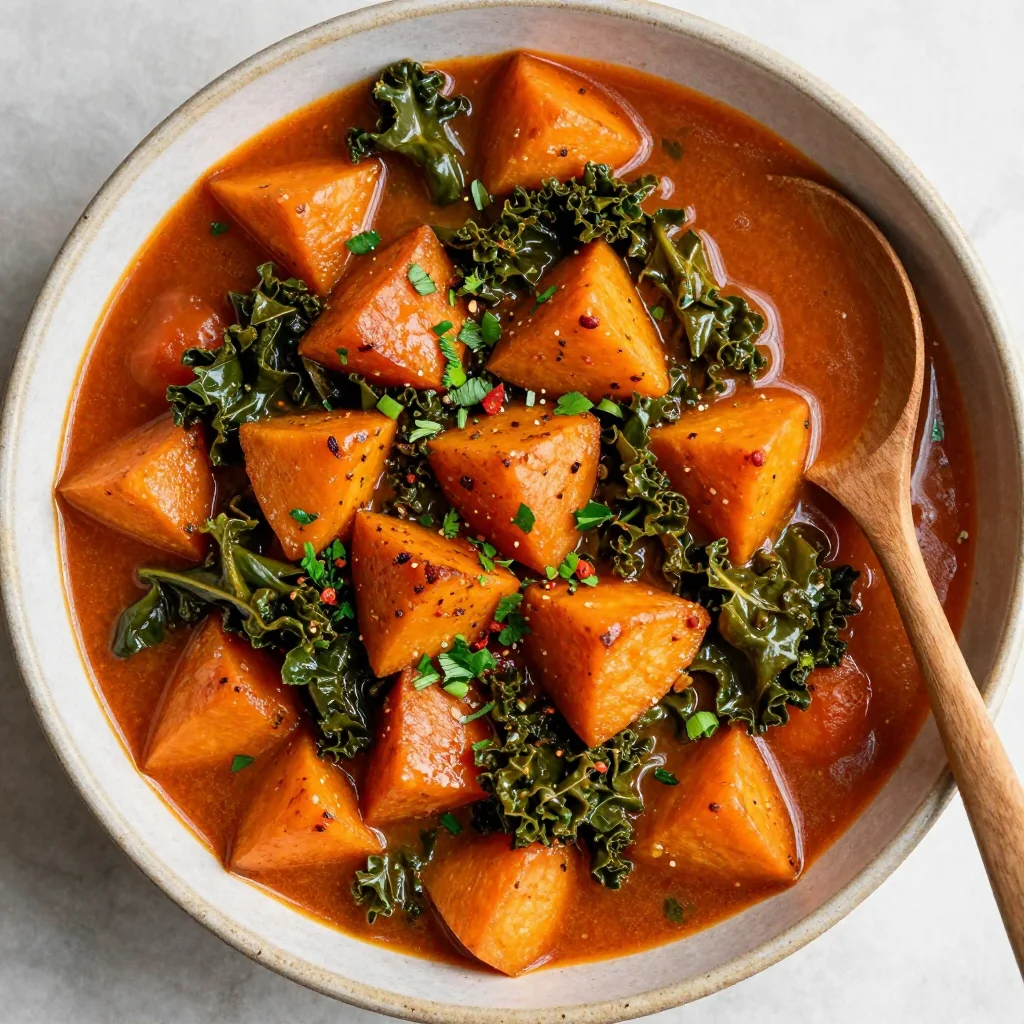
Sweet Potato & Black Bean: Add 2 cups diced sweet potato during the last 40 minutes for a hint of sweetness and extra vitamin A.
-
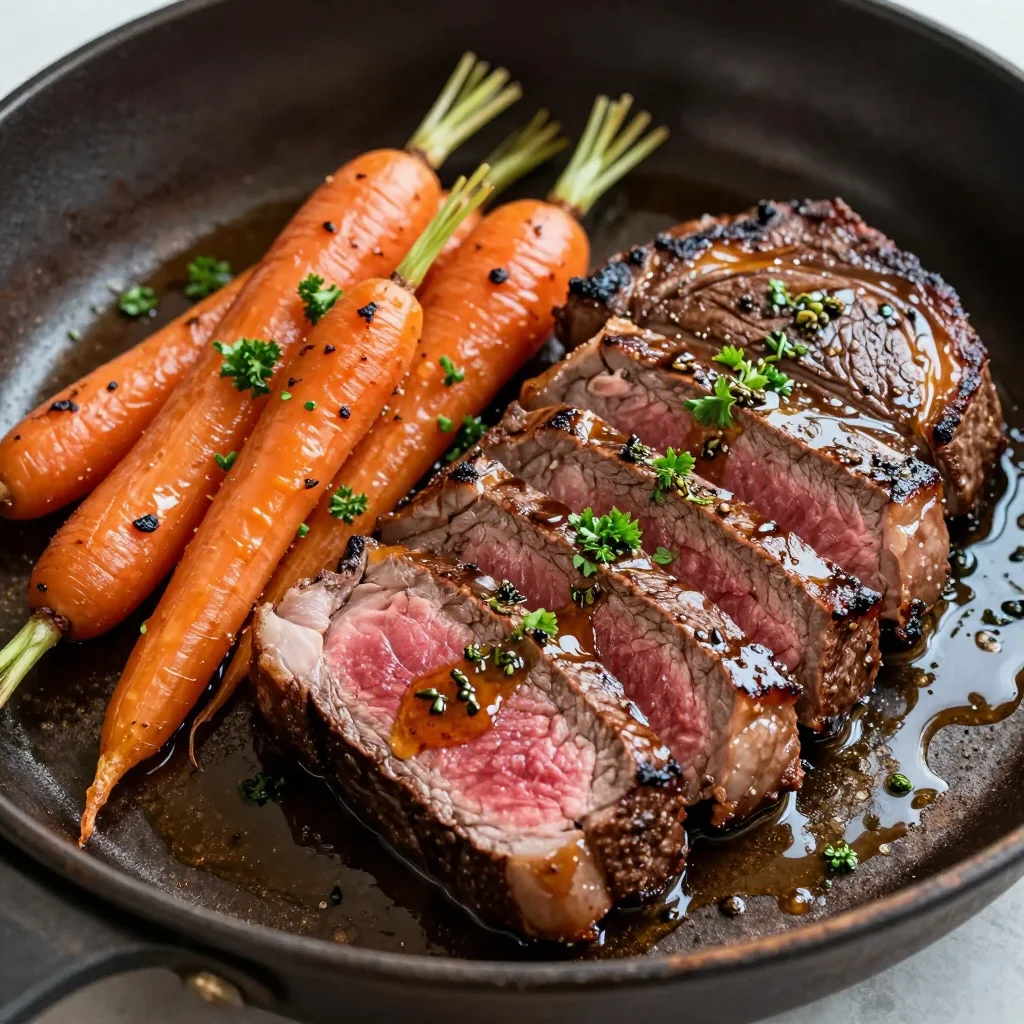
Ground Turkey Boost: Brown ½ lb ground turkey with the onions for meat-lovers while still keeping costs low.
-
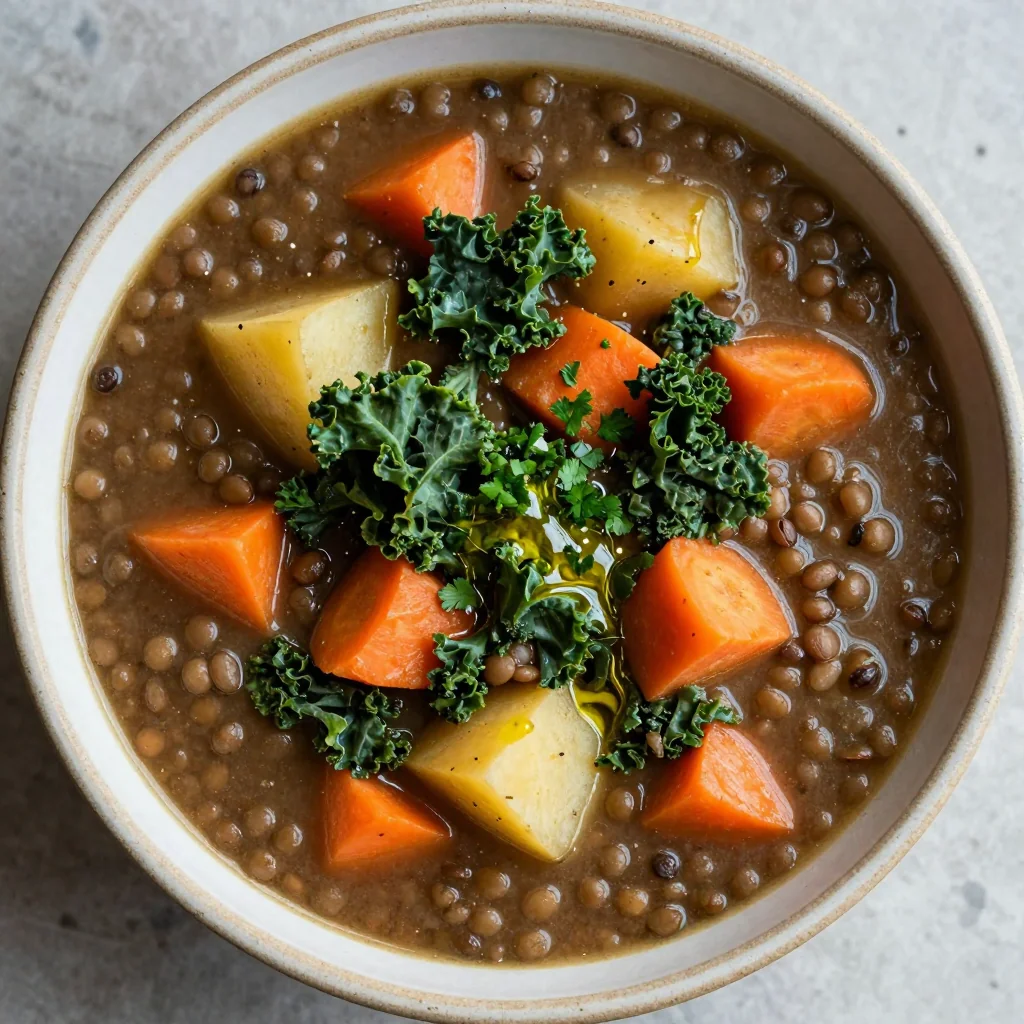
Green Chili Verde: Swap tomato for 2 cups salsa verde and add 1 lb diced Yukon golds for a tangy, tomatillo-kissed version.
-
Pumpkin Surprise: Whisk in ¼ cup pure pumpkin purée before serving; it thickens and sneaks in veggies undetected by kids.
Storage Tips
Refrigerator: Cool chili to room temperature within 2 hours. Transfer to airtight containers; it keeps up to 5 days. Flavors meld remarkably by day 2, so plan to make ahead for company.
Freezer: Ladle cooled chili into quart-size freezer bags, press out excess air, label, and freeze flat on a sheet pan. Once solid, stack vertically like books to save space. Thaw overnight in the fridge or use the quick-thaw tip above.
Reheating: Warm gently over medium-low heat, stirring often and splashing broth to loosen. Microwave works too—cover and heat 2-minute bursts, stirring between, until steaming.
Frequently Asked Questions

Budget Friendly Chili That Tastes Better the Next Day
Ingredients
Instructions
- Soak beans: Rinse beans, cover with 2 inches of water, add 1 tsp salt, soak 8 hours or overnight; drain.
- Sauté vegetables: Heat oil in Dutch oven over medium heat. Cook onion and bell pepper 5 minutes; add garlic 30 seconds.
- Bloom spices: Reduce heat, add chili powder, cumin, paprika, cocoa, oregano; toast 1 minute.
- Deglaze: Stir in tomato paste 2 minutes, then add 1 cup broth, scraping browned bits.
- Simmer: Add beans, tomatoes, remaining broth, bay leaf; bring to gentle simmer. Partially cover and cook 1½–2 hours until beans are tender, stirring occasionally.
- Finish: Remove bay leaf, season with salt, stir in vinegar. Serve hot with desired toppings.
Recipe Notes
Chili thickens as it stands. Thin leftovers with broth or water when reheating. Flavors peak on day 2—perfect for meal prep!