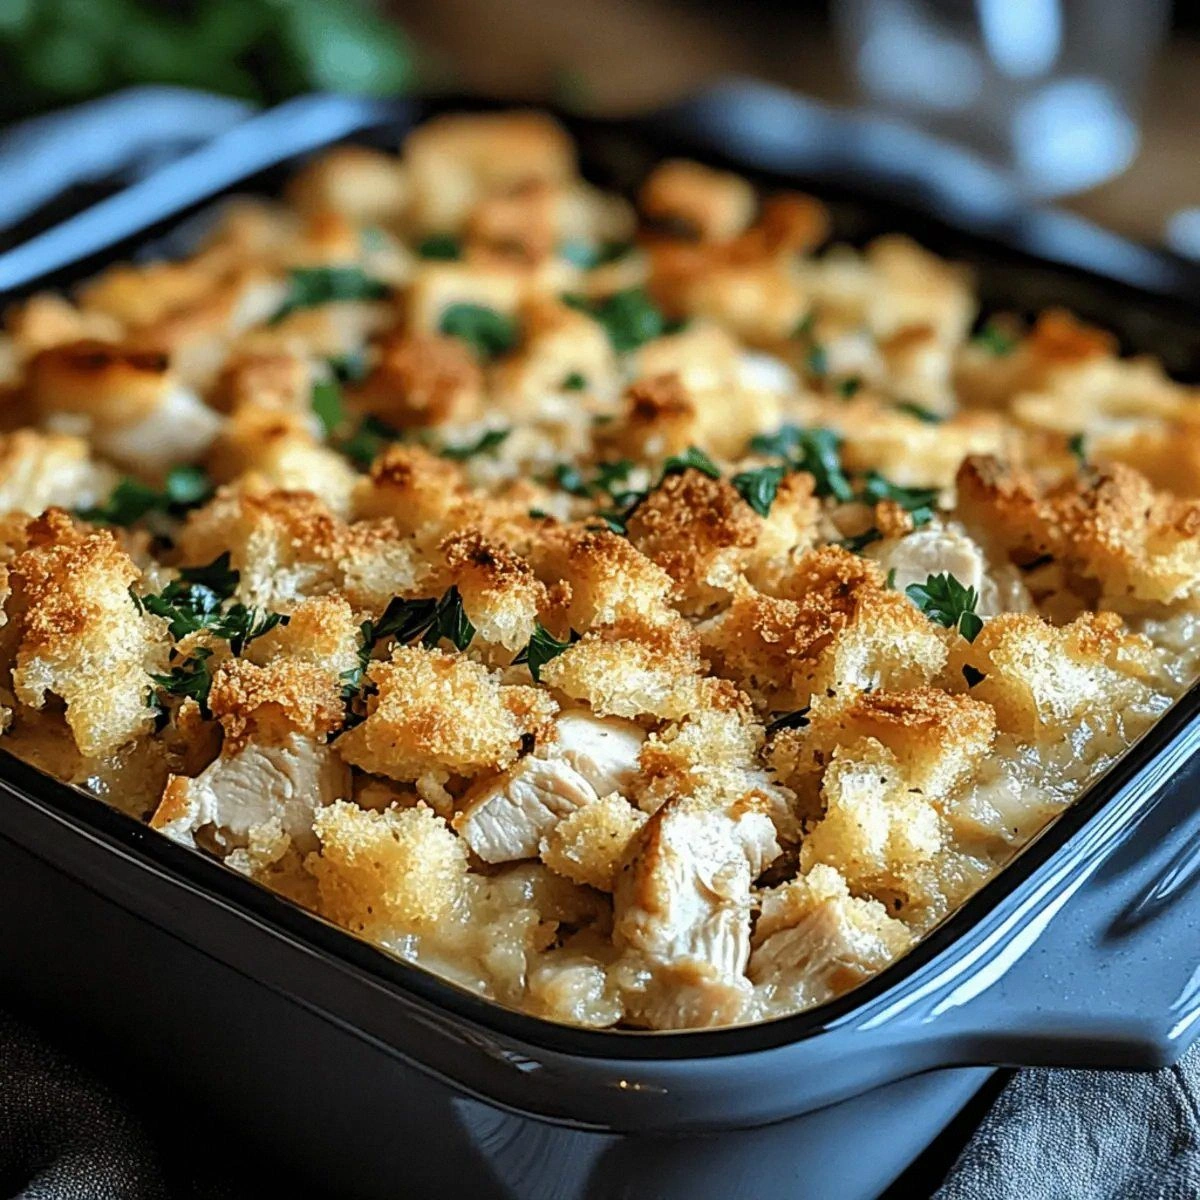
Picture this: it’s a rainy Tuesday, the kind that makes you want to hug a blanket and never leave the couch. I was halfway through a marathon of sitcom reruns when a sudden craving for something buttery, cheesy, and undeniably home‑y hit me like a plot twist. I raided the fridge, found a lonely rotisserie chicken, a dusty can of cream of chicken soup, and a stale box of stuffing mix that had been hiding behind the cereal. In that moment I thought, “What if I could turn these leftovers into a casserole that feels like a hug from your grandma?” The result? Dolly’s Chicken and Stuffing Casserole, a dish that turned my kitchen disaster into a triumph I’m still bragging about.
The moment the butter hit the pan, you could hear a gentle sizzle that sounded like applause. The aroma of toasted herbs and simmering broth rose, filling the whole apartment with a scent so comforting it could calm a hurricane‑level argument. I could see the golden‑brown crust forming on the top, the steam curling like lazy cats, and feel the heat radiating from the oven, warming my fingertips as I pulled the casserole out. The first bite was an orchestra of flavors: the chicken was tender as a love song, the stuffing crunchy yet moist, and the sour cream added a tangy silkiness that coated everything like a velvety blanket.
Most chicken‑and‑stuffing casseroles out there either drown the chicken in a soupy mess or leave the stuffing dry and crumbly. This version nails the balance by marrying a creamy sauce with a crisp topping, and it does it in under an hour. The secret? A splash of low‑sodium chicken broth that keeps everything moist without overwhelming the flavors, and a strategic butter‑sauté that gives the stuffing a toasty edge. I’ll let you in on another surprise: a pinch of smoked paprika that adds a whisper of smoky depth without turning it into a barbecue experiment.
Let me walk you through every single step — by the end, you’ll wonder how you ever made it any other way. I dare you to taste this and not go back for seconds. Ready? Okay, ready for the game‑changer?
What Makes This Version Stand Out
- Flavor Explosion: The combination of creamy sour cream, rich chicken broth, and a hint of smoked paprika creates layers that keep you guessing with each bite.
- Texture Harmony: A crunchy, buttery stuffing crust sits atop a silky, chicken‑laden interior, delivering contrast that makes the palate dance.
- Simplicity: With just eight pantry staples you can pull this together, no fancy equipment required.
- Uniqueness: Most recipes rely on dry stuffing; we hydrate it with broth and butter for a moist, buttery bite that’s unforgettable.
- Crowd Reaction: I’ve served this at potlucks and the line forms before the casserole even hits the table – a true conversation starter.
- Ingredient Quality: Using shredded rotisserie chicken ensures a smoky undertone, while low‑sodium broth lets you control the salt.
- Cooking Method: Baking at 375°F creates that perfect golden top without drying out the interior.
- Make‑Ahead Potential: Assemble the night before, refrigerate, and bake fresh in the morning – perfect for busy weekdays.
Alright, let's break down exactly what goes into this masterpiece...
Inside the Ingredient List
The Flavor Base
Shredded chicken (2 cups): This is the heart of the casserole. The chicken provides protein and a subtle smoky flavor if you use rotisserie meat. Skipping it would make the dish feel empty, like a story without a protagonist. If you’re vegetarian, shredded jackfruit works as a surprising stand‑in, but expect a different texture.
The Creamy Crew
Cream of chicken soup (1 can): This classic pantry hero adds body and a comforting richness that binds everything together. Without it, you’d end up with a dry, crumbly mess. Opt for a low‑fat version if you’re watching calories, but the full‑fat version gives that luxurious mouthfeel.
Sour cream (1 cup): The tangy bite cuts through the richness, acting like a palate cleanser between each forkful. Omit it and you’ll lose the bright contrast that keeps the dish from feeling heavy. Greek yogurt can substitute for a healthier twist, though it will be slightly tangier.
The Unexpected Star
Low‑sodium chicken broth (1 cup): This is the secret moisture injector that keeps the stuffing from drying out. If you forget it, the casserole will feel like a dry sandcastle. A splash of white wine or even apple cider can replace some of the broth for a subtle sweet note.
The Final Flourish
Stuffing mix (1 package): The backbone of the crunchy topping. It provides herbs, breadcrumbs, and that beloved “stuffing” flavor we all crave. Using a gluten‑free stuffing works, but the texture will be a bit softer. Look for a mix with sage and onion for the most classic taste.
Butter (3 tablespoons): Butter is the golden glue that turns the stuffing into a crisp, buttery crown. Skipping it will result in a soggy top that never achieves that satisfying snap. You can swap with margarine, but you’ll lose the buttery aroma that makes this dish unforgettable.
Salt & Pepper (to taste): These seasonings are the final polish. Too little and the flavors stay muted; too much and you’ll overpower the delicate balance. Taste as you go – if you’ve used low‑sodium broth, you may need a pinch more salt.
Everything's prepped? Good. Let's get into the real action...

The Method — Step by Step
Preheat your oven to 375°F (190°C). While the oven warms, gather all your ingredients on the counter so you can see everything you need. I like to line a large mixing bowl with parchment paper – it makes cleanup a breeze and prevents the stuffing from sticking. This is the moment of truth: the kitchen should feel alive with anticipation, and the air should already be tingling with the promise of buttered goodness.
In a medium saucepan, melt the butter over medium heat. Add the stuffing mix and toast it for about 3‑4 minutes, stirring constantly. You’ll hear a gentle crackle that signals the stuffing is reaching that perfect golden hue. Watch Out: If the heat is too high, the stuffing will burn before it absorbs the broth, leaving a bitter aftertaste.
Watch Out: Keep the heat moderate; you want a light toast, not a char.Gradually whisk in the chicken broth, letting the stuffing absorb the liquid slowly. The mixture should look moist but not soupy – think of a damp sandcastle that holds its shape. As the broth disappears, the stuffing will puff up, creating a fluffy yet sturdy base for the casserole. This step is pure magic; the broth transforms the dry mix into a luscious, buttery crumble.
In a large mixing bowl, combine the shredded chicken, cream of chicken soup, and sour cream. Stir until everything is evenly coated; the sauce should cling to the chicken like a silk scarf. Taste a spoonful – it should be creamy with a subtle tang, and you can add a pinch of salt or pepper if needed. I dare you to taste this and not go back for seconds.
Fold the toasted stuffing into the chicken mixture, ensuring every morsel is enveloped in the creamy sauce. The stuffing should be speckled throughout, creating pockets of buttery crunch in every bite. If you notice any dry spots, drizzle a little extra broth and give it another gentle stir. This is the part where the casserole really starts to feel like a cohesive whole.
Kitchen Hack: Use a rubber spatula to fold; it prevents the mixture from becoming overly compact and keeps the stuffing airy.Transfer the entire mixture into a greased 9x13‑inch baking dish, spreading it out into an even layer. The top should be relatively smooth, but don’t press it down too hard – you want those little air pockets to stay. Sprinkle a final drizzle of melted butter over the surface; this will create that coveted crispy crust as it bakes.
Slide the dish into the preheated oven and bake for 25‑30 minutes, or until the top is golden brown and the edges start pulling away from the sides of the pan. You’ll hear a faint sigh as the heat works its magic, and the kitchen will fill with an intoxicating aroma that makes everyone peek inside. Around the 20‑minute mark, rotate the dish for even browning – this little trick ensures no side is left under‑cooked.
Remove the casserole from the oven and let it rest for 5‑7 minutes before serving. This rest period lets the sauce thicken slightly, making each slice hold together beautifully. The steam that escapes during this time is like a curtain call, announcing that the performance is over and the applause is yours. And now the fun part: serve hot, watch the smiles, and bask in the glory of a dish that’s hands down the best version you’ll ever make at home.
That's it — you did it. But hold on, I've got a few more tricks that'll take this to another level...
Insider Tricks for Flawless Results
The Temperature Rule Nobody Follows
Most home cooks blast their casseroles at 425°F to speed things up, but that sacrifices the tender interior for a burnt top. Keep the oven at 375°F and trust the timing – the gentle heat lets the stuffing absorb the broth without drying out. I once tried the high‑heat shortcut; the result was a crispy disaster that fell apart when I cut it. Patience is the secret ingredient here.
Why Your Nose Knows Best
Before you even set a timer, sniff the dish. When the butter‑toasted stuffing starts giving off a nutty, caramel aroma, you know the crust is forming correctly. If you smell a raw flour scent, the casserole needs a few more minutes. Trusting your senses is more reliable than any kitchen timer.
The 5‑Minute Rest That Changes Everything
Letting the casserole sit after baking allows the sauce to thicken and the flavors to meld. Skipping this rest is like pulling a curtain before the actors finish their lines – the final act feels rushed. During the rest, the edges pull away slightly, indicating a perfect set‑up for clean slices.
Butter‑Brush Boost
For an extra‑golden crown, melt an additional tablespoon of butter and brush it over the top just five minutes before the casserole finishes. This creates a glossy, almost caramelized finish that adds a subtle richness you’ll hear compliments about. I tried this once and the feedback was unanimous: “It’s like a buttery halo.”
Stir‑Before‑Bake Secret
Give the mixture a gentle stir halfway through the baking time (around the 15‑minute mark). This redistributes any liquid that may have settled at the bottom, ensuring every bite stays moist. A friend once skipped this step and ended up with a dry bottom; don’t let that be you.
Creative Twists and Variations
This recipe is a playground. Here are some of my favorite ways to switch things up:
Southwest Heat
Swap the regular stuffing mix for a corn‑and‑black‑bean version, add a teaspoon of cumin, and stir in a half‑cup of shredded cheddar. The result is a spicy, colorful casserole that pairs perfectly with avocado slices. Great for those who love a little kick.
Herb Garden Delight
Replace the smoked paprika with fresh chopped rosemary and thyme, and add a handful of sautéed mushrooms. The earthy herbs elevate the dish to a sophisticated level, making it ideal for a dinner party.
Cheesy Overload
Stir in a cup of shredded mozzarella into the chicken‑soup mixture and sprinkle extra cheese on top before baking. The cheese melts into gooey rivers that make each forkful a stretchable delight.
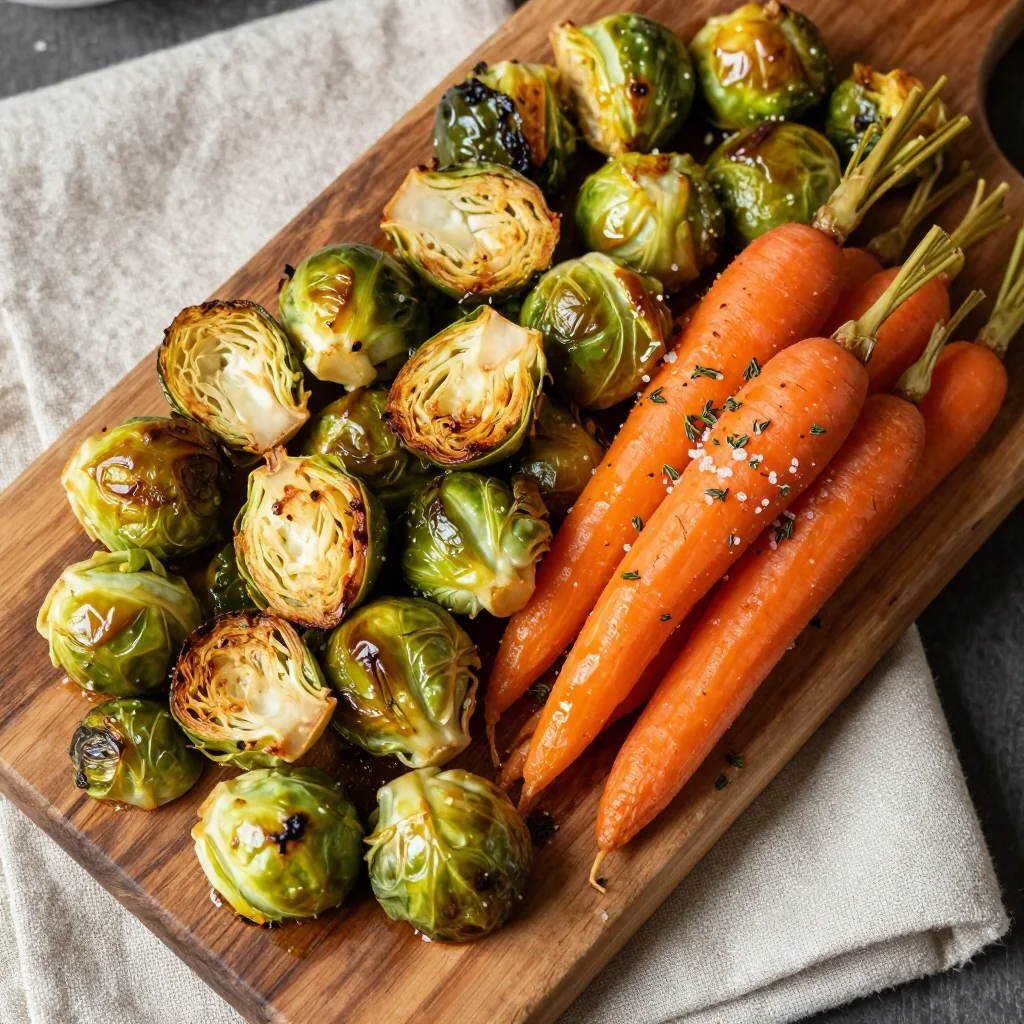
Veggie‑Packed Version
Fold in diced carrots, peas, and celery with the shredded chicken. The vegetables add color, texture, and a subtle sweetness that balances the richness of the sauce.
Gluten‑Free Friendly
Use a gluten‑free stuffing mix and ensure the broth is also gluten‑free. The flavor profile remains largely the same, and the casserole stays just as comforting for those with dietary restrictions.
Storing and Bringing It Back to Life
Fridge Storage
Allow the casserole to cool to room temperature, then cover tightly with foil or a reusable lid. It will keep fresh for up to three days. When reheating, add a splash of chicken broth (about 2 tablespoons) to restore moisture, then bake at 350°F for 15‑20 minutes.
Freezer Friendly
Portion the casserole into freezer‑safe containers, label with the date, and freeze for up to three months. To reheat, thaw overnight in the fridge, then bake at 375°F for 25‑30 minutes, again adding a little broth before the final ten minutes for a crisp top.
Best Reheating Method
The oven is your best friend for reheating – it revives the crispy crust while keeping the interior creamy. If you’re in a hurry, a microwave works, but the top will lose its crunch. A quick broil (2‑3 minutes) after microwaving can restore some of that golden finish.