The other night, I stared at a chocolate cake that had turned into a sad, charred lump on the bottom of my oven. I had followed a recipe from a glossy magazine, but the oven temperature had been off, and the batter had over‑baked into a brittle slab that smelled like burnt sugar. I stared at the mess, feeling the frustration of a kitchen disaster that could have been avoided with a little more intuition. Then, a friend texted me a link to a 2‑minute microwave brownie that promised a quick fix, and I was instantly intrigued. I couldn’t resist the idea of a chocolate fix that would be both delicious and lightning‑fast.
As I opened the microwave, the steam curled up, carrying a faint scent of chocolate that made my mouth water. I could hear the faint hum of the appliance, the soft click as the turntable spun, and the distant buzz of the refrigerator. The mug I chose was a classic ceramic one, its smooth glaze catching the light like a tiny mirror. The batter, a glossy, dark mixture, glistened as I poured it into the mug, and I could almost taste the richness just by looking at it. The anticipation was almost as sweet as the final product.
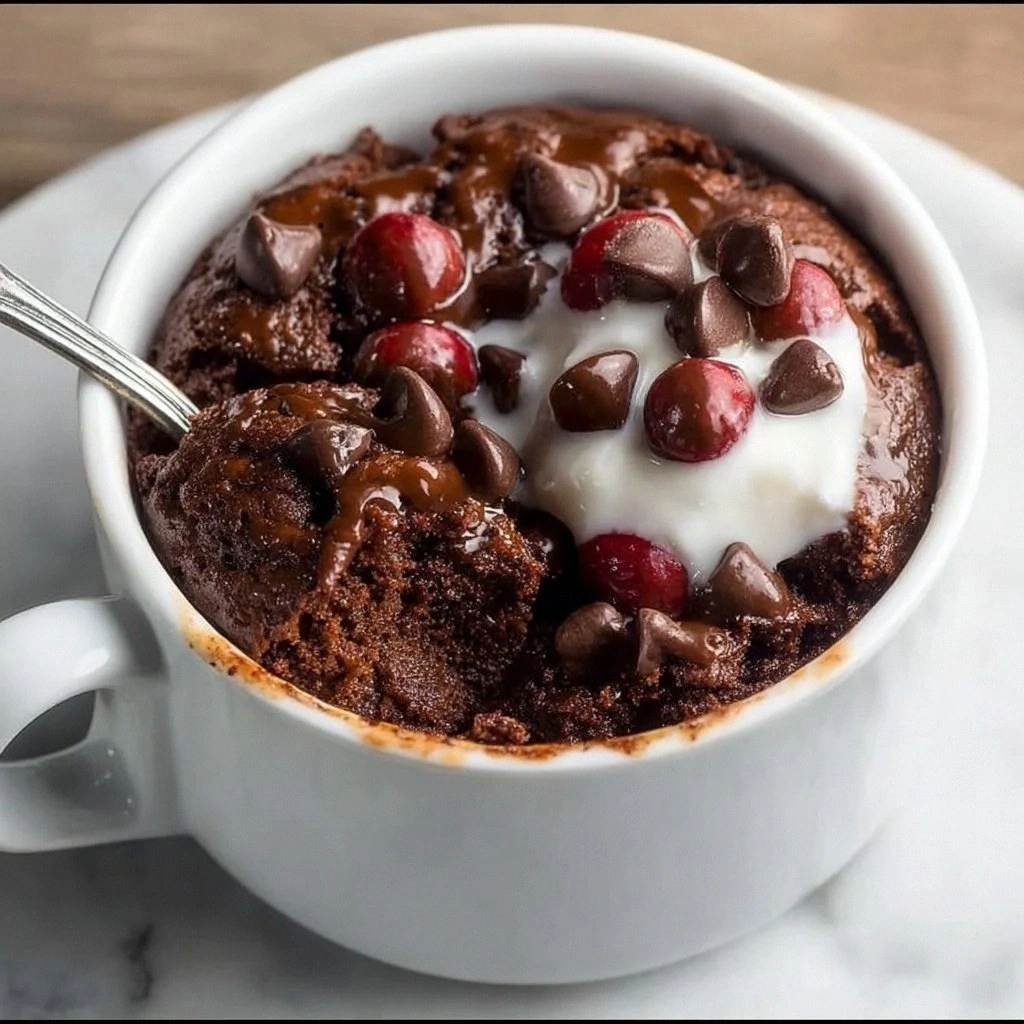
This version stands out because it eliminates the need for a conventional oven, a measuring cup, or a whisk that weighs you down. It uses a handful of pantry staples that you likely already have, and the result is a fudgy, gooey brownie that melts in your mouth. The batter’s texture is achieved through a precise balance of flour, sugar, cocoa, and oil, and the microwave’s heat creates a perfectly set center with a lightly crisp edge. I dare you to taste this and not go back for seconds. Most recipes get this completely wrong by over‑mixing or over‑cooking, but here the science is simple and reliable.
What makes this recipe a game‑changer is the small twist: I add a splash of vanilla extract and a pinch of sea salt, which elevate the chocolate flavor and balance the sweetness. I also recommend using Dutch‑processed cocoa for a deeper, richer taste, and a few chocolate chips on top for that classic “melt‑in‑your‑mouth” moment. Picture yourself pulling this out of the microwave, the whole kitchen smelling incredible, and a warm mug of chocolate goodness in your hand. If you’ve ever struggled with a rushed dessert, you’re not alone — and I’ve got the fix.
And now the fun part: I’ll walk you through every single step, from measuring the ingredients to the final plating. By the end, you’ll wonder how you ever made it any other way. Let me show you how to turn a simple mug into a chocolate masterpiece that can be whipped up in less than two minutes.
What Makes This Version Stand Out
- Speed: The entire process takes less than two minutes from start to finish, making it perfect for a mid‑day pick‑me‑up.
- Texture: The batter achieves a fudgy center with a slightly crisp rim, thanks to the precise ratio of flour to cocoa.
- Flavor: A touch of sea salt and vanilla extract unlocks the chocolate’s full depth, creating a complex taste profile.
- Portability: The recipe is contained in a single mug, making it easy to bring to work, school, or a picnic.
- Ingredient Flexibility: Swapping in almond flour or coconut sugar is simple, allowing for gluten‑free or lower‑sugar variations.
- Minimal Equipment: No oven, no whisk, just a microwave and a mug.
- Scalability: The recipe scales up or down with ease, so you can serve one or feed a crowd.
- Make‑ahead Potential: The batter can be pre‑mixed and stored in the fridge for a quick microwave fix.
- Visual Appeal: The glossy, dark surface and chocolate chips on top give a professional look that impresses.
Inside the Ingredient List
The Flavor Base
Four tablespoons of all‑purpose flour form the foundation of the brownie’s structure. It gives the batter a light, airy feel that allows the microwave heat to create a set center without becoming too dense. If you’re gluten‑free, almond flour or a gluten‑free blend works beautifully, though the texture will be slightly different. Skipping flour entirely will result in a gooey mess that won’t hold its shape.
Four tablespoons of granulated sugar sweeten the batter and help achieve a caramelized surface. For a healthier option, light brown sugar or coconut sugar can be used; the latter adds a subtle molasses undertone that complements the chocolate. A pinch of sugar is essential; without it, the batter will taste flat and under‑developed.
The Texture Crew
Two tablespoons of unsweetened cocoa powder bring the deep, rich chocolate flavor that defines this brownie. The cocoa also contributes to the batter’s density, ensuring the final product remains fudgy. If you prefer a darker, less bitter taste, opt for Dutch‑processed cocoa, which has a milder flavor and a darker hue.
A quarter teaspoon (1/8) of baking powder adds a subtle lift, preventing the brownie from becoming overly flat. If you love a denser, more chocolate‑heavy texture, you can omit the baking powder entirely; just be prepared for a slightly heavier bite.
A pinch of salt (1/8 teaspoon) is the secret weapon that enhances every flavor note. Sea salt or espresso powder can be used for a more pronounced kick, but a standard pinch will do the job. Salt balances the sweetness and brings out the cocoa’s richness.
The Unexpected Star
Two tablespoons of vegetable oil keep the brownie moist and give it a silky mouthfeel. Olive oil is a viable alternative, adding a subtle fruity note, while melted butter would lend a richer, buttery flavor. The oil also helps the batter stay cohesive during microwaving, preventing it from drying out.
Two tablespoons of water act as a binder, creating a smooth batter that spreads evenly in the mug. Milk or any milk alternative can replace water for a creamier texture. Without liquid, the batter would be too thick and could burn in the microwave.
The Final Flourish
Two tablespoons of chocolate chips add bursts of molten chocolate throughout the brownie, creating a delightful contrast between the fudgy base and the gooey chips. These chips can also be swapped for nuts, dried fruit, or even a swirl of peanut butter for a different flavor profile. If you’re watching calories, simply omit the chips and still enjoy a satisfying chocolate experience.
Everything’s prepped? Good. Let’s get into the real action and watch the magic unfold.
The Method — Step by Step
- Gather a medium‑sized ceramic mug and a small mixing bowl. Ensure the mug has a lid or a plate that can cover it during microwaving. This prevents splatter and keeps the batter from drying out. The mug should be clean and dry; any residue can interfere with the batter’s rise.
- In the bowl, combine the flour, sugar, cocoa, baking powder, and salt. Whisk them together until the dry ingredients are evenly distributed. The mixture should look like fine sand, with no clumps of cocoa or flour. This step is crucial for a uniform batter.
- Add the vegetable oil, water, and vanilla extract to the dry mix. Stir with a wooden spoon until the batter is smooth and glossy. If you prefer a thicker brownie, reduce the water slightly; for a lighter texture, add a splash more.
- Fold in the chocolate chips gently, reserving a few for topping if desired. The chips should be evenly distributed so each bite contains a burst of chocolate. If you’re using nuts, chop them finely to avoid large chunks that might not melt evenly.
- Pour the batter into the mug, filling it about three‑quarters full. Leave a little space at the top to prevent overflow during microwaving. The batter should be smooth, with no visible lumps or pockets.
- Cover the mug with a plate or microwave‑safe lid. This traps steam and creates a mini steamer effect, ensuring the brownie cooks evenly. If you don’t have a lid, a paper towel works as a makeshift cover.
- Microwave on high for 90 seconds. The batter should rise slightly and emit a sweet, chocolate aroma. If your microwave is particularly powerful, start with 75 seconds and adjust as needed.
- Check the center by inserting a toothpick; it should come out with a few moist crumbs but no wet batter. If it’s still wet, microwave in 15‑second increments until the desired consistency is reached. The goal is a gooey center that sets but doesn’t overcook.
- Let the brownie rest for 30 seconds with the lid on. This allows the heat to distribute evenly, preventing a soggy bottom. The rest also gives the chocolate chips a chance to melt fully.
- Remove the mug carefully, as it will be hot. If you reserved extra chocolate chips, sprinkle them on top for an extra chocolate burst. Serve immediately with a spoon or a small plate.
That’s it — you did it. But hold on, I’ve got a few more tricks that will elevate this simple mug cake to legendary status.
Insider Tricks for Flawless Results
The Temperature Rule Nobody Follows
Microwave wattage varies widely, so the exact time needed can differ. Start with a 90‑second burst and then adjust by 10‑15 second increments. A common mistake is to assume 1‑minute is always enough; this often leads to a dry, over‑cooked brownie. By listening to the batter’s rise and texture, you’ll master the sweet spot for your appliance.
Why Your Nose Knows Best
Your sense of smell is the fastest indicator of doneness. When the aroma turns from raw batter to a sweet, chocolatey scent, the brownie is almost ready. A faint hint of burnt sugar signals over‑cooking. Trusting your nose can save you from a rubbery mess.
The 5‑Minute Rest That Changes Everything
After microwaving, let the brownie sit covered for 5 minutes if you’re using a mug with a lid. This extra rest time allows the heat to penetrate deeper, creating a more even crumb. It also lets the chocolate chips melt fully, giving that classic gooey center.
Use a Microwave‑Safe Mug for Best Results
Not all mugs are created equal. A thick‑walled ceramic mug retains heat better than a thin glass one, ensuring a consistent bake. Avoid metal mugs, as they can cause sparks. If you’re unsure, test with a small amount of water to see how it heats.
Add a Dash of Espresso Powder
A pinch of espresso powder amplifies the chocolate flavor without making the brownie taste like coffee. It also adds a subtle depth that many brownie lovers swear by. Mix it in with the dry ingredients for an instant upgrade.
Keep the Microwave Clean
Stale crumbs can cause uneven heating, leading to hotspots that over‑cook the brownie. A quick wipe‑down of the interior before cooking ensures consistent results. A clean microwave also prevents unwanted odors from lingering.
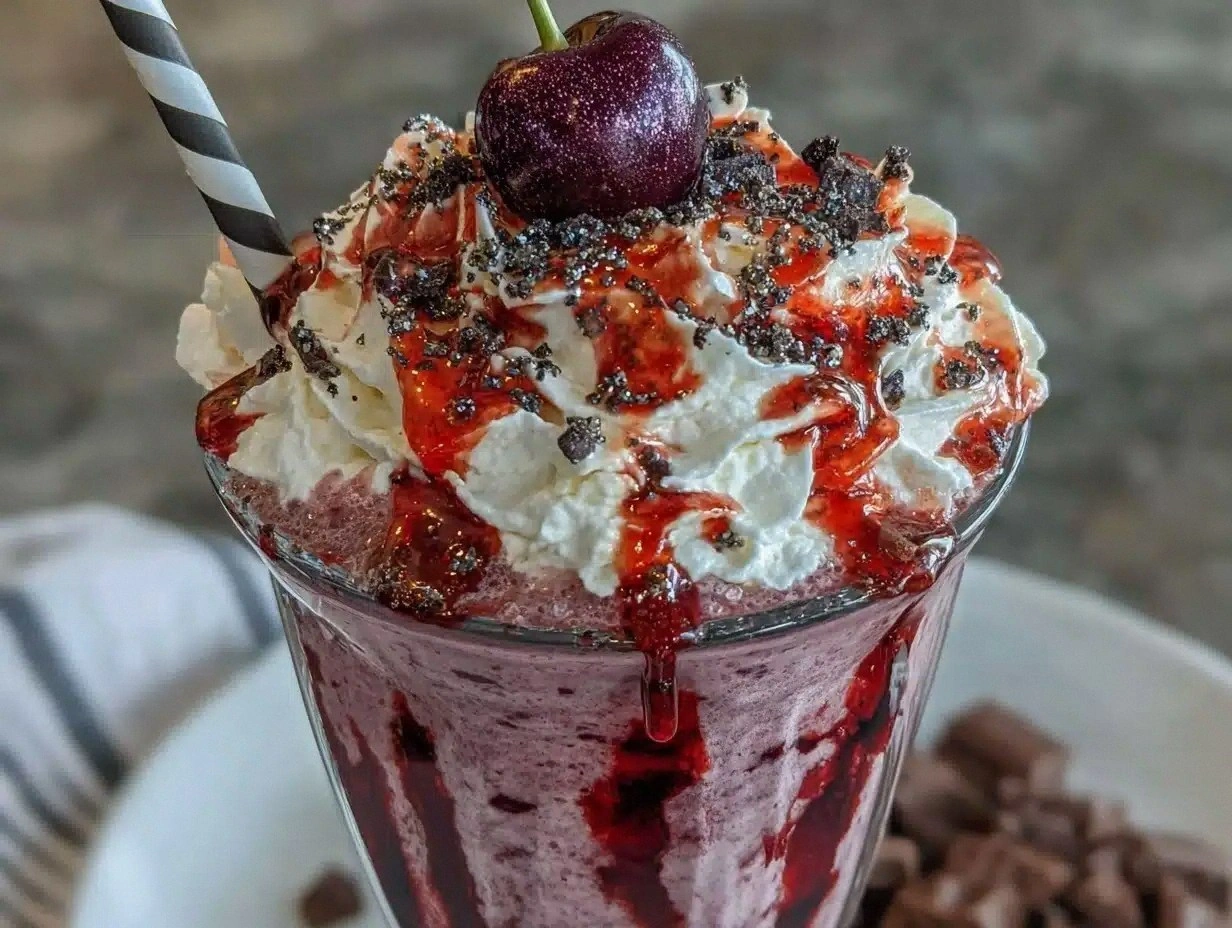
Serve with a Dollop of Whipped Cream
A light swirl of whipped cream or a scoop of vanilla ice cream pairs beautifully with the warm brownie. The contrast between the hot chocolate and cold cream is a sensory delight. It also makes the dessert feel more indulgent and restaurant‑style.
Creative Twists and Variations
This recipe is a playground. Here are some of my favorite ways to switch things up:
Nutty Crunch Edition
Swap the chocolate chips for chopped pecans or walnuts. The nuts add a satisfying crunch and a nutty flavor that pairs well with the chocolate. Toast the nuts briefly before adding them for an extra layer of flavor.
Spicy Kick
Add a pinch of cayenne pepper or a dash of chili powder. The heat balances the sweetness and gives the brownie a surprising twist. This variation is perfect for adventurous palates.
Caramel Swirl
Fold in a tablespoon of caramel sauce before microwaving. The caramel melts into the batter, creating a swirl of sweet, buttery flavor. It’s like having a caramel brownie in a mug.
Minty Fresh
Stir in a few drops of peppermint extract and top with crushed mint chocolate candy. The mint provides a refreshing counterpoint to the rich chocolate, making it ideal for summer afternoons.
Almond Joy
Add shredded coconut and a handful of toasted almonds. The coconut gives a chewy texture while the almonds add crunch. This version resembles the classic candy bar.
Coffee Lover’s Delight
Replace half of the water with strong brewed coffee and add a teaspoon of instant espresso. The coffee intensifies the chocolate flavor and adds depth. It’s a perfect pairing for a late‑night snack.
Berry Burst
Fold in a tablespoon of dried cranberries or raisins. The dried fruit adds a subtle tartness that cuts through the richness. It’s a great way to incorporate a fruit element.
Vegan Version
Use a plant‑based milk alternative and a vegan chocolate chip. The texture remains fudgy, and the flavor profile is just as satisfying. This version is perfect for those following a plant‑based diet.
Storing and Bringing It Back to Life
Fridge Storage
Once the brownie has cooled completely, wrap the mug tightly in plastic wrap. Store it in the refrigerator for up to 3 days. When you’re ready to eat, microwave for 15‑20 seconds to warm it back up. The wrap prevents the brownie from drying out.
Freezer Friendly
Place the mug in a freezer‑safe container and freeze for up to 2 weeks. When you want a quick treat, microwave for 30‑45 seconds. Adding a splash of milk or water before microwaving helps the brownie reheat evenly.
Best Reheating Method
To revive a frozen or refrigerated brownie, sprinkle a few drops of water on top before microwaving. This creates steam that restores moisture and prevents the brownie from becoming chewy. Warm it in short bursts, checking the texture each time.