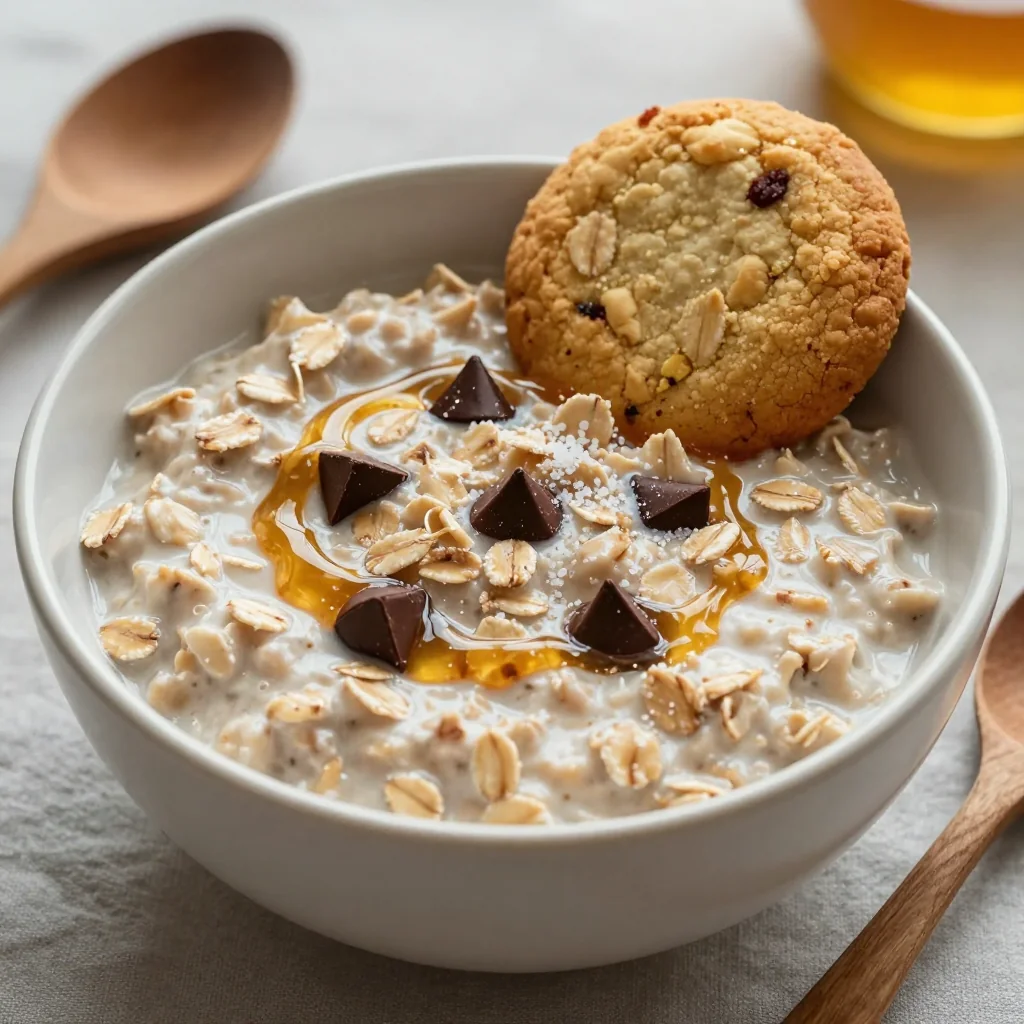
I was standing in my kitchen at midnight, the kind of kitchen where the fridge light flickers like a lighthouse, and I had a sudden craving for something that felt both indulgent and guilt‑free. My usual go‑to was a bag of store‑bought granola bar that crumbled into my palm the second I tried to bite it, leaving me with a mess and a lingering feeling of disappointment. I tossed a handful of rolled oats into a bowl, grabbed the last jar of honey, and thought, “What if I could create a bar that’s chewy, chocolatey, and still whispers “healthy” to my conscience?” The result? A batch of bars that made my taste buds do a happy dance while my waistline stayed calm.
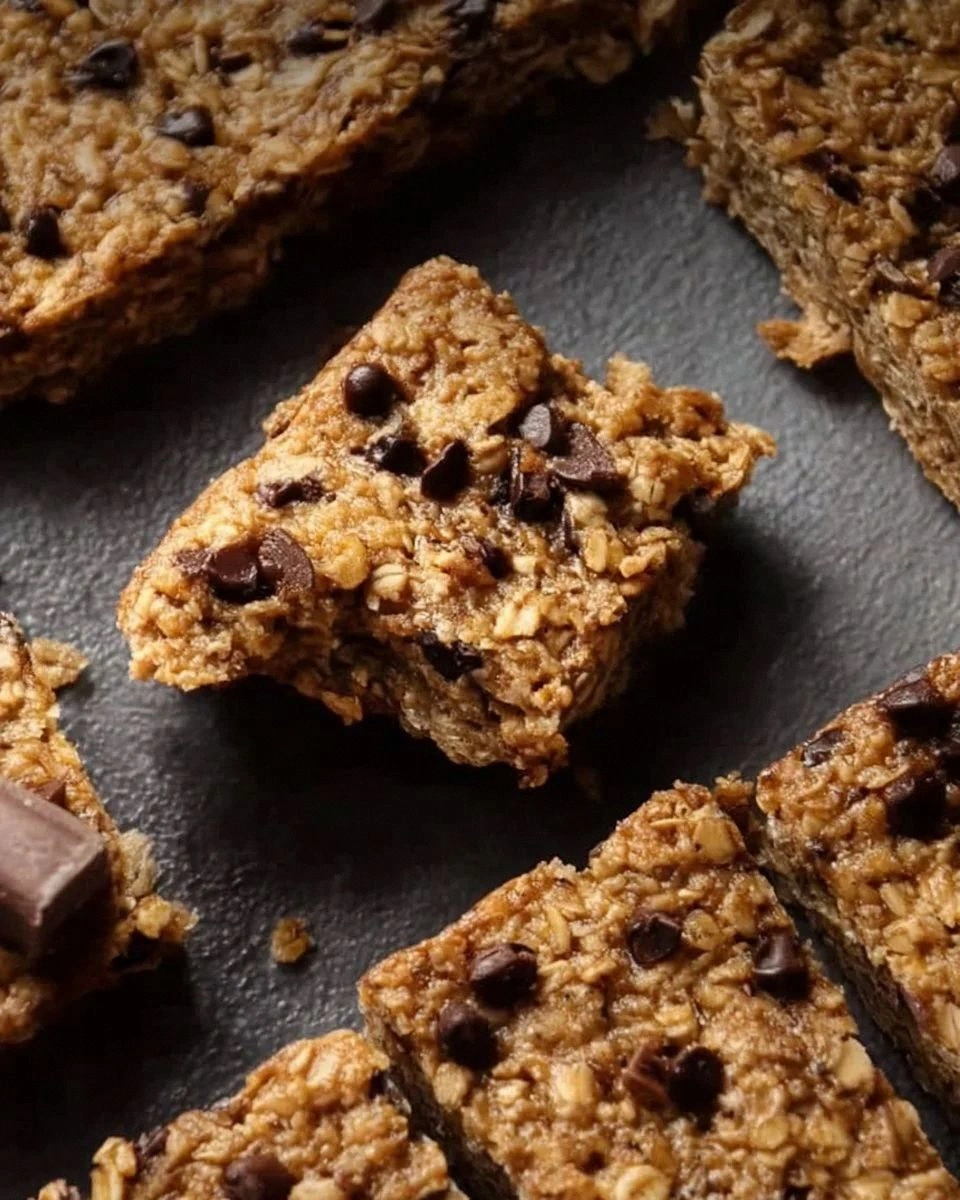
Picture this: the oven door swings open, and a warm, caramel‑kissed aroma of toasted oats fills the air, mingling with the deep, almost intoxicating scent of dark chocolate melting into the batter. The sound of the timer ticking is like a drumroll, building anticipation for that first bite. When you finally pull the pan out, the edges are crisp, the top is a golden‑brown canvas, and the chocolate chips glisten like tiny jewels scattered across a sunrise. You press a finger into the center, and it gives a gentle, springy resistance—soft enough to melt in your mouth, firm enough to hold its shape.
Most oatmeal bar recipes either end up dry as cardboard or sticky as a glue factory. I’ve tried a dozen, and each time something was missing—either the flavor was flat, the texture was off, or the bars crumbled the second they cooled. This version flips the script: the almond butter adds a buttery richness that coats each oat like velvet, while the honey (or maple syrup) provides just the right amount of natural sweetness without any processed sugar. And the dark chocolate chips? They’re the surprise party that keeps the crowd cheering for an encore.
I’m about to spill the beans on a secret technique that most recipes completely overlook: a brief “toasting” step for the oats and a gentle “fold‑in” method for the chocolate chips that preserves their melt‑in‑your‑mouth texture. Trust me, this is the game‑changer that turns an ordinary snack into a show‑stopper. Let me walk you through every single step — by the end, you’ll wonder how you ever made it any other way.
What Makes This Version Stand Out
- Flavor: The combination of almond butter and honey creates a natural sweet‑and‑nutty base that feels decadent without a sugar overload.
- Texture: Toasted oats give a subtle crunch, while the batter stays moist, resulting in bars that are chewy on the inside and crisp on the edges.
- Simplicity: Only eight ingredients, five of which you probably already have in your pantry, and no fancy equipment required.
- Uniqueness: The “fold‑in” of chocolate chips after the batter cools a few minutes prevents them from melting completely, giving pockets of molten chocolate in every bite.
- Crowd Reaction: I dare you to taste this and not go back for seconds; even the most skeptical sweet tooth will be converted.
- Ingredient Quality: Whole‑grain oats and dark chocolate bring antioxidants, while almond butter adds healthy fats and protein.
- Cooking Method: Baking at a moderate temperature ensures even cooking without drying out the center.
- Make‑Ahead Potential: These bars keep fresh for up to a week, making them perfect for meal‑prep, office snacks, or post‑workout fuel.
Inside the Ingredient List
The Flavor Base
Rolled oats are the heart of these bars, providing a hearty, fiber‑rich foundation that keeps you full longer. If you skip the oats, you lose that satisfying chew and the nutritional punch that makes these bars more than just a sweet treat. For a gluten‑free version, swap the oats for certified gluten‑free rolled oats, but keep the same volume.
Almond butter is the secret buttery hero; its natural oils coat each oat grain, creating a cohesive batter that doesn’t crumble. Should you be allergic to nuts, try sunflower seed butter or tahini for a similar creamy texture, though the flavor profile will shift toward a subtle earthiness.
The Texture Crew
Flour—whether whole wheat or all‑purpose—acts as a gentle binder, ensuring the bars hold together once cooled. Whole wheat adds a nutty depth, while all‑purpose yields a lighter crumb. If you’re watching carbs, you can replace the flour with oat flour for a fully grain‑based bar.
Baking powder is the tiny leavening agent that gives the bars a slight rise, preventing them from feeling dense. Too much will make them cake‑like, too little leaves them flat; the half‑teaspoon is the sweet spot.
A pinch of salt (0.25 tsp) is the unsung hero that amplifies the sweetness of the honey and the bitterness of the dark chocolate, balancing the overall flavor. Skipping salt is a common mistake that leads to a flat‑tasting bar.
The Unexpected Star
Honey or maple syrup supplies natural sweetness and a subtle caramel note that pairs beautifully with the toasted oats. If you prefer a lower glycemic index, opt for pure maple syrup; it also adds a faint woody aroma that deepens the flavor.
Vanilla extract, though used in a modest half‑teaspoon, adds a fragrant backdrop that rounds out the sweetness, making the bars taste like a bakery‑crafted treat rather than a kitchen experiment.
The Final Flourish
Dark chocolate chips are the final flourish, delivering bursts of melty goodness in every bite. Choose chips with at least 70% cacao for a rich, slightly bitter contrast that keeps the overall sugar level in check. If dairy is a concern, go for dairy‑free chocolate chips; the texture remains the same.
Everything's prepped? Good. Let's get into the real action...
The Method — Step by Step
Preheat your oven to 350°F (175°C). While the oven warms, line a 9‑by‑13‑inch baking pan with parchment paper, leaving a little overhang on the sides for easy removal later. This step is crucial because an even temperature ensures the bars bake uniformly, avoiding soggy centers.
Okay, ready for the game‑changer? Toss the rolled oats onto a dry skillet over medium heat. Stir constantly; you’ll hear a gentle sizzle as the oats begin to toast, releasing a nutty perfume that fills the kitchen.
When the oats turn a light golden brown and you can smell that toasty aroma, remove them from the heat and let them cool for about five minutes. This cooling step prevents the almond butter from melting too quickly when combined later.
Kitchen Hack: Spread the oats on a baking sheet if you prefer a hands‑off approach; the oven will toast them in 5‑7 minutes, but keep a close eye to avoid burning.In a large mixing bowl, whisk together the flour, baking powder, and salt. This dry blend ensures the leavening agent is evenly distributed, preventing pockets of bitterness.
Next, add the almond butter, honey (or maple syrup), and vanilla extract. Using a sturdy spatula, stir until the mixture is smooth and glossy. The almond butter should melt slightly, creating a silky batter that clings to the toasted oats.
Gently fold the cooled oats into the wet mixture. The goal is to coat each oat grain without crushing them; this preserves the bite‑size texture that makes the bars satisfying.
Watch Out: If you over‑mix, the batter will become dense and the bars may turn cakey. Stop as soon as the oats are just incorporated.
Now, here’s the magic: let the batter sit for two minutes, then sprinkle the dark chocolate chips over the top. Fold them in lightly, allowing some chips to stay on the surface for that melt‑in‑the‑mouth surprise.
Watch Out: Adding the chips too early can cause them to melt completely, turning the batter brown and losing those delightful pockets of chocolate.Spread the batter evenly in the prepared pan, using the back of a spoon or an offset spatula. Press down gently to create an even surface; the edges should be slightly thicker for extra crispness.
The kitchen should now be buzzing with the scent of caramelized oats and chocolate—trust me, that aroma is a promise that the final product will be unforgettable.
Slide the pan into the preheated oven and bake for 25‑30 minutes. Around the 20‑minute mark, peek through the oven window; the top should be a deep golden‑brown and the edges will start pulling away from the sides of the pan.
This is the moment of truth: the bars should feel firm to the touch but still have a slight wobble in the center. If you tap the surface and hear a faint “give,” they’re perfect. Over‑baking will dry them out, so set a timer and stay close.
Remove the pan from the oven and let the bars cool in the pan for at least 15 minutes. This cooling period allows the bars to set, making them easier to cut without crumbling.
Once cooled, lift the parchment overhang and place the slab onto a cutting board. Slice into 12 even squares using a sharp knife, wiping the blade clean between cuts for clean edges.
And now the fun part. Serve the bars warm for a gooey chocolate experience, or store them at room temperature for a firmer bite. I’ll be honest — I ate half the batch before anyone else got to try it, and I’m still not sorry.
That’s it — you did it. But hold on, I’ve got a few more tricks that’ll take this to another level...
Insider Tricks for Flawless Results
The Temperature Rule Nobody Follows
Most home bakers set the oven to “350°F and forget,” but the real secret is a quick 5‑minute pre‑heat at 375°F before dropping the temperature to 350°F when you insert the pan. This initial burst creates a gentle steam that helps the bars rise evenly, giving you that coveted airy interior without sacrificing the chewy edges.
Why Your Nose Knows Best
Your sense of smell is a far better indicator of doneness than a timer. When the aroma shifts from “toasted oat” to “caramelized butter with a hint of chocolate,” you’re at the perfect bake point. Trust that nose; it will save you from a dry batch.
The 5‑Minute Rest That Changes Everything
Letting the batter rest for five minutes after mixing allows the oats to absorb some moisture, resulting in a denser, more cohesive bar. Skipping this rest is a common rookie mistake that leads to crumbly bars that fall apart when you try to lift them.
The “Cool‑Then‑Slice” Strategy
If you slice the bars while they’re still hot, they’ll crumble like dry toast. Letting them cool for at least 15 minutes firms up the structure, giving you clean cuts and a professional look. A friend once tried to cut them immediately and ended up with a sticky mess—lesson learned.
The Double‑Layer Trick for Extra Crunch
For those who love a crunchy top, sprinkle a thin layer of rolled oats mixed with a drizzle of honey on the surface before baking. The result is a caramelized crust that cracks delightfully when you bite into it.
Creative Twists and Variations
This recipe is a playground. Here are some of my favorite ways to switch things up:
Berry Burst
Swap half of the chocolate chips for dried cranberries or freeze‑dried raspberries. The tartness balances the sweet honey, and the chewy berries add a burst of flavor that’s perfect for a summer snack.
Nutty Crunch
Add a quarter cup of chopped toasted almonds or walnuts to the batter. The extra crunch complements the oat base, and the nuts contribute healthy omega‑3 fatty acids.
Spiced Autumn
Incorporate ½ teaspoon of cinnamon, a pinch of nutmeg, and a dash of pumpkin spice. This variation feels like a cozy fall hug and pairs beautifully with a cup of chai.
Protein Power
Mix in a scoop of vanilla whey or plant‑based protein powder, reducing the flour slightly to keep the batter moist. Ideal for post‑workout refueling, these bars stay chewy while delivering an extra protein punch.
Vegan Delight
Replace almond butter with sunflower seed butter and use maple syrup instead of honey. The result is 100% vegan, and the flavor remains rich and satisfying.
Coffee Kick
Add 1 tablespoon of instant espresso powder to the dry ingredients. The subtle coffee note deepens the chocolate flavor and gives a gentle caffeine lift—perfect for a mid‑morning pick‑me‑up.
Storing and Bringing It Back to Life
Fridge Storage
Place the cooled bars in an airtight container and store them in the refrigerator for up to seven days. The cool environment keeps the texture firm and prevents the chocolate from blooming.
Freezer Friendly
Wrap each bar individually in parchment paper, then seal them in a zip‑top freezer bag. They’ll stay fresh for up to three months. When you’re ready to enjoy one, let it thaw at room temperature for 15 minutes, or microwave for 10‑15 seconds.
Best Reheating Method
To revive that fresh‑out‑of‑the‑oven softness, place a bar on a microwave‑safe plate, sprinkle a tiny splash (about a teaspoon) of water around the edges, and heat for 10 seconds. The steam re‑hydrates the interior, giving you that warm, melt‑in‑your‑mouth experience.