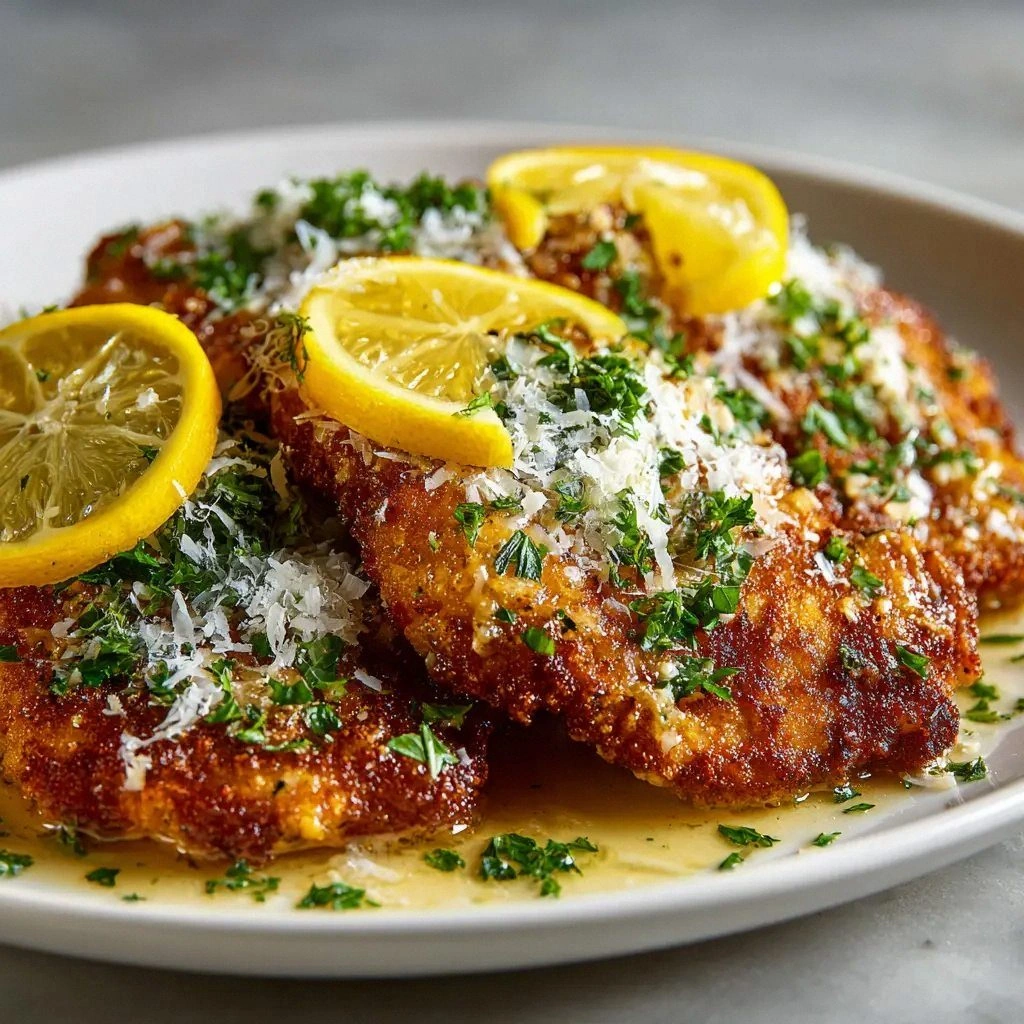
It all started on a Sunday night when I tried to impress my sister with a “quick” chicken dish and ended up with a charred, flavorless mess that could have been mistaken for burnt toast. I was halfway through the recipe, the pan was smoking, and my kitchen smelled like a small, unfortunate volcano. I laughed, grabbed a fresh sheet of parchment, and decided to rewrite the entire concept. That night, I promised myself I would never again serve a chicken that tasted like regret.
Fast forward to today, and I’m holding a pan that glistens with golden, buttery edges, a sauce that drips like a velvety ribbon, and a chicken that practically melts in your mouth. The aroma alone—sharp Pecorino, bright lemon, and a whisper of garlic—has my whole apartment humming. When you cut into it, the juices run like a citrus river, and the crust crackles with a satisfying, almost musical pop. Every bite is a reminder that a single tweak can turn a disaster into a masterpiece.
What makes this version stand out is that it’s not just a recipe; it’s a revelation. I’ve taken the classic Lemon Chicken Romano and added a flour‑egg coating that gives it a crispy, almost fried texture while keeping the inside moist. The sauce is a buttery broth reduction that coats the chicken in a glossy, savory glaze, and the fresh parsley adds a green pop of freshness that cuts through the richness. It’s hands down the best version you’ll ever make at home.
And here’s a little secret: the key to that perfect crackle is the precise ratio of flour to eggs, combined with a quick, high‑heat sear. I dare you to taste this and not go back for seconds. If you think you’ve tried the best chicken Romano out there, think again—this is the game‑changer you’ve been missing.
Let me walk you through every single step—by the end, you’ll wonder how you ever made it any other way. Picture yourself pulling this out of the oven, the whole kitchen smelling incredible, and guests arriving with their mouths already watering. Ready? Let’s dive in.
What Makes This Version Stand Out
- Texture: The flour‑egg coating creates a crisp shell that shatters like thin ice with each bite, while the inside stays tender and juicy.
- Flavor: The Pecorino Romano lends a sharp, salty depth that balances the bright lemon, and the butter‑broth glaze adds a silky richness.
- Simplicity: With only 13 ingredients and a single pan, you can have dinner on the table in under an hour.
- Visual Appeal: The golden crust and glossy sauce make the dish look as good as it tastes, perfect for impressing guests.
- Make‑Ahead Potential: You can prepare the coating and sauce ahead of time, then reheat for a quick weekday dinner.
- Ingredient Quality: Using fresh, high‑quality ingredients—especially the Pecorino and fresh lemon—makes all the difference.
- Versatility: The recipe works beautifully with other proteins or even as a hearty vegetarian base with extra veggies.
Alright, let's break down exactly what goes into this masterpiece…
Inside the Ingredient List
The Flavor Base
Pecorino Romano is the star that gives this dish its signature sharpness. Freshly grated, it melts into the sauce, creating a silky, umami‑rich coating that feels like a decadent hug. Skipping the cheese would strip the dish of its depth, leaving the lemon and butter feeling flat. For a milder flavor, you can replace half the Pecorino with Parmesan, but the original is unbeatable.
Fresh lemon juice is the bright, zesty counterpoint that cuts through the richness of butter and cheese. The acidity also helps tenderize the chicken, ensuring it stays juicy. If you can’t find fresh lemons, a splash of white wine vinegar will work, but the citrus aroma will be noticeably different.
Garlic powder and onion powder provide a subtle, aromatic foundation that elevates the overall profile. They’re the quiet background singers that let the main notes shine. If you’re a garlic lover, feel free to add a minced clove for an extra punch.
Olive oil is the secret to a golden sear. It raises the cooking temperature and adds a silky finish. Using a high‑smoke point oil like avocado or grapeseed will give you an even crisper crust if you’re feeling adventurous.
The Texture Crew
The flour coating is what gives the chicken its crispy shell. It’s a simple batter that traps heat, creating a crunchy exterior while locking in moisture. If you prefer a gluten‑free version, substitute almond flour or a gluten‑free all‑purpose blend.
Eggs are the binding agent that holds the flour together and helps the coating adhere to the meat. They also add a subtle richness that balances the sharp cheese. If you’re egg‑phobic, a splash of milk or buttermilk can work as a substitute, though the texture will be slightly different.
The butter, in combination with the chicken broth, forms a luscious reduction that coats the chicken. The butter’s fat content provides a glossy sheen, while the broth adds depth and prevents the sauce from becoming too thick. Using unsalted butter is key to controlling the salt level.
The Unexpected Star
Parsley isn’t just a garnish; it’s a fresh, herbal burst that brightens the dish and adds a pop of color. It also carries a subtle peppery note that complements the lemon. If you’re looking for a different herb, try fresh basil or tarragon for a unique twist.
Everything's prepped? Good. Let's get into the real action…
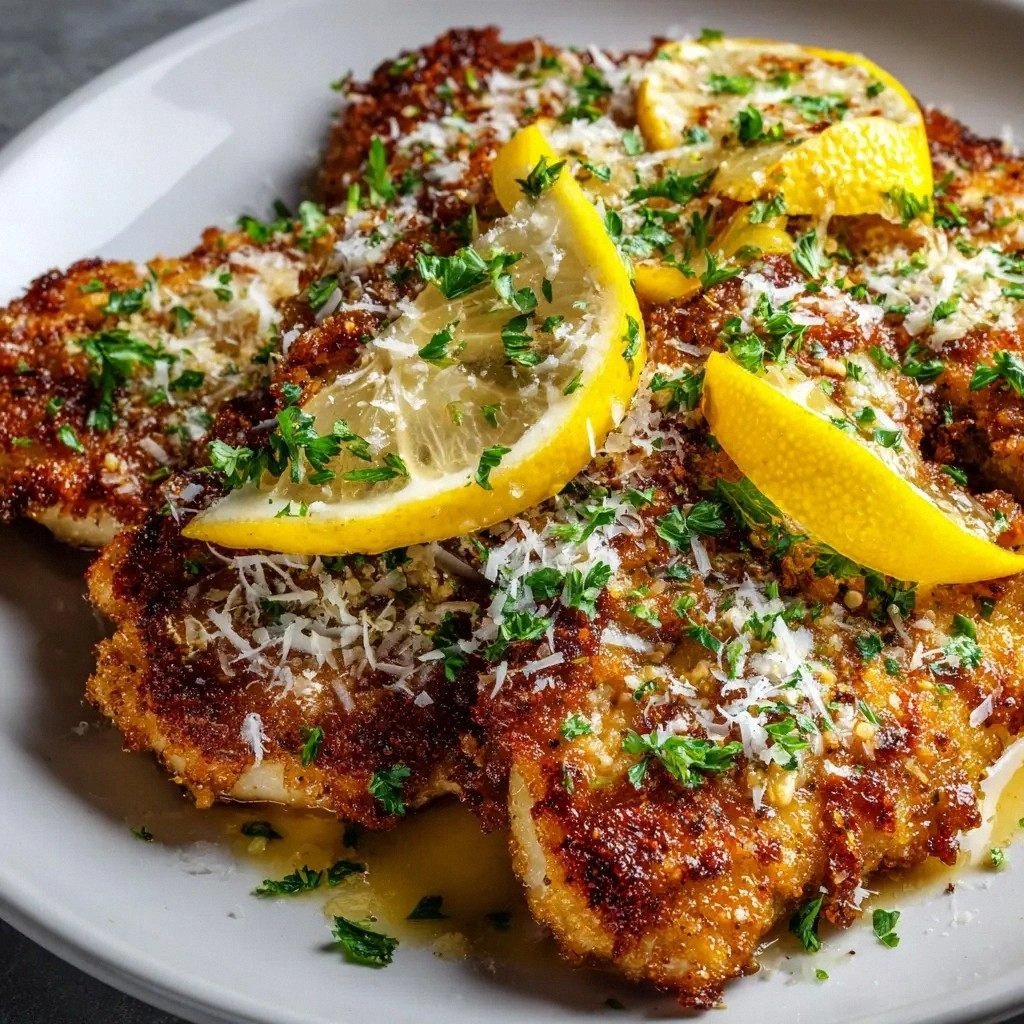
The Method — Step by Step
Step one is all about prepping the coating. You’ll need a shallow dish of flour and a separate bowl of beaten eggs. The ratio is simple: one part flour to one part egg, but the key is to keep the mixture moist enough to cling to the chicken without clumping.
Step two involves seasoning the chicken. Pat the breasts dry, then sprinkle both sides with garlic powder, onion powder, salt, and pepper. The seasoning will seep into the meat, giving it a robust flavor profile that will carry through the sauce.
Step three is the sear. Heat a skillet over medium‑high heat and add the olive oil. Once shimmering, place the coated chicken in the pan and let it cook undisturbed for about 3–4 minutes per side. This creates a golden crust that locks in juices.
Step four is to remove the chicken and set it aside. The pan is still hot, so you’ll want to use it for the sauce right away. This keeps the cooking process efficient and prevents the chicken from drying out.
Step five is the sauce. In the same pan, melt the butter over medium heat, then pour in the chicken broth and lemon juice. Stir constantly to prevent the butter from separating. Let it reduce for about 5 minutes until it thickens slightly.
Step six is the cheese infusion. Lower the heat to medium‑low, then stir in the Pecorino Romano until it melts into a silky glaze. The cheese will create a glossy coating that clings to the chicken.
Step seven is the final assembly. Return the chicken to the pan, spoon the sauce over each piece, and let it simmer for 2–3 minutes. The sauce should coat the chicken like a velvet blanket.
Step eight is the final touch. Sprinkle fresh parsley over the top and give the pan a quick swirl to distribute the herbs evenly. The parsley adds a fresh, green contrast that brightens the plate.
Step nine is to serve. Plate the chicken with a generous drizzle of the remaining sauce, and if you’re feeling fancy, add a wedge of lemon on the side. The aroma alone will have guests lining up for seconds.
That’s it — you did it. But hold on, I've got a few more tricks that'll take this to another level…
Insider Tricks for Flawless Results
These small tweaks will elevate your dish from good to unforgettable.
The Temperature Rule Nobody Follows
Cooking at the right temperature is critical. Too low, and the chicken will steam rather than sear; too high, and the coating will burn before the inside cooks. I always set the skillet to medium‑high and let it heat until it shimmers with a thin film of oil before adding the chicken. This ensures a crisp exterior and a juicy interior.
Why Your Nose Knows Best
When the sauce starts to reduce, a sharp, buttery aroma will rise. That’s your cue to add the cheese. The scent signals that the butter has emulsified with the broth, creating the perfect base for the Pecorino to melt into a glossy glaze.
The 5‑Minute Rest That Changes Everything
After cooking, let the chicken rest on a wire rack for 5 minutes. This allows the juices to redistribute, preventing them from spilling onto the pan and drying the meat. If you’re in a hurry, a quick 2‑minute rest will still give you great results.
Keep the Sauce Thick but Pourable
When reducing the broth, stop once it has thickened to the consistency of a light gravy. If it’s too thin, the sauce will be watery and won't coat the chicken properly. If it’s too thick, it will be clumpy and hard to spread.
Finish with a Splash of Fresh Lemon
Just before serving, squeeze a fresh lemon wedge over the dish. The acidity will brighten the flavors and give the sauce a lively finish. It’s a small step that makes a big difference.
Creative Twists and Variations
This recipe is a playground. Here are some of my favorite ways to switch things up:
Chicken + Shrimp Duo
Replace half the chicken breasts with shrimp for a seafood twist. The shrimp cooks in 2–3 minutes and pairs beautifully with the lemon‑cheese sauce.
Veggie‑Rich Version
Add sliced bell peppers, zucchini, and mushrooms to the pan after searing the chicken. They’ll absorb the sauce and add color and nutrition.
Spicy Kick
Incorporate a tablespoon of harissa or a handful of crushed red pepper flakes into the coating. The heat balances the richness of the sauce.
Herb‑Infused Variation
Swap parsley for fresh basil or tarragon. The different herbs will change the aroma profile and give the dish a distinct personality.
Low‑Carb Take
Use almond flour for the coating and replace the chicken broth with bone broth. This keeps the dish keto‑friendly while maintaining flavor.
Gluten‑Free Option
Replace all‑purpose flour with a gluten‑free blend and ensure your Pecorino is gluten‑free. The result is just as crispy and delicious.
Storing and Bringing It Back to Life
Fridge Storage
Store leftovers in an airtight container for up to 3 days. The sauce will thicken slightly in the fridge, so reheat gently.
Freezer Friendly
Cool the dish completely, then place the chicken and sauce in separate freezer bags. Freeze for up to 2 months. Thaw overnight in the fridge before reheating.
Best Reheating Method
Reheat in a skillet over low heat, adding a splash of water or broth to keep the chicken moist. A quick 5‑minute warm-up will restore the sauce’s glossy finish.